Cuckoo Sandbox is a neat open source project used by many people around the world to test malware into a secure environment, to understand how they work and what they do. Cuckoo is written in a modular way, with python language. It’s really easy to customize, and this is what I’m going to show you here.
Cuckoo Sandbox
You can download and install Cuckoo Sandbox here, and here’s a tutorial on how to configure it. We will not cover the installation of cuckoo itself because the guide is really well done.
Customization, the idea
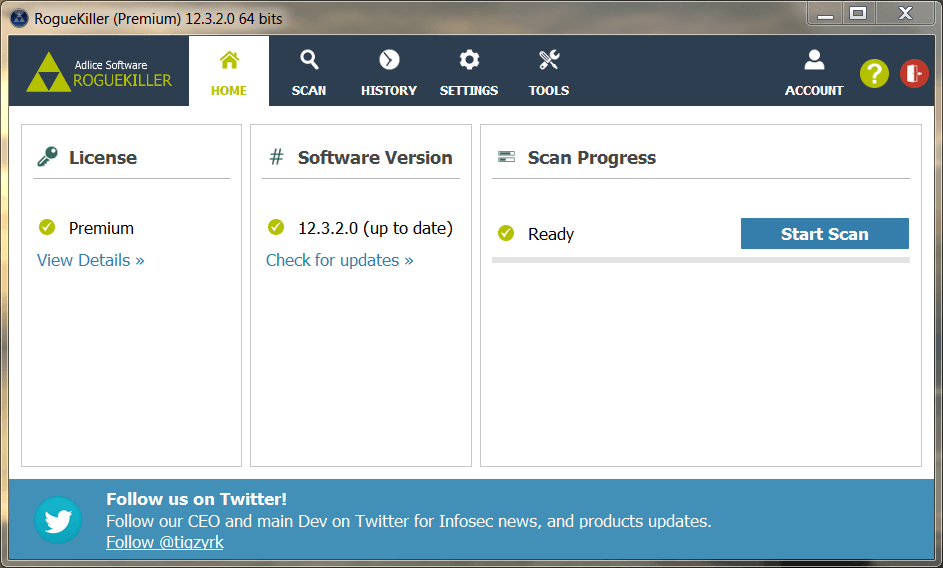
Let’s study a real example that we’ve done for our own purpose, here at Adlice Labs. We wanted an easy way to test for malware removal with our software, RogueKiller. The idea is to get a removal report for malware that we send to the sandbox, let’s take a look.
The Cuckoo team made a guide for customization as well, this will be our reference.
In our templates below, for consistency all our file modules will be named “custom.py”. Just adapt to your case.
Auxiliary (guest) module
The auxiliary guest modules are located into /analyzer/windows/modules/auxiliary.
They are executed before the malware, on the guest machine. Therefore they can be useful to log some initial state machine information.
import logging
import json

from lib.common.abstracts import Auxiliary
from lib.common.results import NetlogFile

log = logging.getLogger(__name__)

class Custom(Auxiliary):
    """Gather custom data"""

    def __init__(self, options={}, analyzer=None):
        Auxiliary.__init__(self, options, analyzer)

    def start(self):
        log.info("Starting my Custom auxiliary module")
        nf = NetlogFile("logs/initial.json")
        nf.send(json.dumps(['foo', {'bar': ('baz', None, 1.0, 2, False)}]))
As a result, a initial.json file is created into /logs.
Package module
The package modules are located into /analyzer/windows/modules/packages.
They are responsible for executing and injecting the malware for analysis, they are executed on the guest.
You can define different execution routines, depending on the type of malware (exe, swf, pdf, …)
I have implemented the finish method to make some post execution actions, we will see later for a concrete example of this.
import os
import shlex
import json
import logging

from lib.common.abstracts import Package
from lib.common.results import NetlogFile

log = logging.getLogger("analyzer")

class CustomExe(Package):
    """Custom analysis package."""

    def start(self, path):
        args = self.options.get("arguments", "")

        name, ext = os.path.splitext(path)
        if not ext:
            new_path = name + ".exe"
            os.rename(path, new_path)
            path = new_path

        return self.execute(path, args=shlex.split(args))

    # Post execution
    def finish(self):
        nf = NetlogFile("logs/post.json")
        nf.send(json.dumps(['foo', {'bar': ('baz', None, 1.0, 2, False)}]))
        return True
As a result, a post.json file is created into /logs.
Processing module
The processing modules are located into /modules/processing.
They are executed on the host, to append data generated by the modules above into the global container. That way, the data will be available by all the next modules for processing and reporting.
To enable a new processing module, you need to add that section into /conf/processing.conf.
[custom]
enabled = yes
import os
import json

from lib.cuckoo.common.abstracts import Processing
from lib.cuckoo.common.exceptions import CuckooProcessingError

class Custom(Processing):
    """Analysis custom information."""

    def run(self):
        """Run debug analysis.
        @return: debug information dict.
        """
        self.key = "custom"
        data = {}
        try:
          #initial
          custom_log = os.path.join(self.logs_path, "initial.json")
          with open(custom_log) as json_file:
            data["initial"] = json.load(json_file)
        except Exception, e:
          raise CuckooProcessingError(str(e))

        try:
          #post
          custom_log = os.path.join(self.logs_path, "post.json")
          with open(custom_log) as json_file:
            data["post"] = json.load(json_file)
        except Exception, e:
          raise CuckooProcessingError(str(e))

        return data
As a result, data from initial.json and post.json are appended into the global container. If the Json reporting module (builtin) is enabled, you will retrieve their content into it, under the “custom” key.
Reporting module
The reporting modules are located into /modules/reporting.
They are executed on the host, to translate data from the global container into a different format. It could be a HTML page, json file, even a PDF or something else.
To enable a new reporting module, you need to add that section into /conf/reporting.conf.
[custom]
enabled = yes
import os
import json
import codecs

from lib.cuckoo.common.abstracts import Report
from lib.cuckoo.common.exceptions import CuckooReportError

class Custom(Report):
    """Saves custom results in JSON format."""
    def run(self, results):
        """Writes report.
        @param results: Cuckoo results dict.
        @raise CuckooReportError: if fails to write report.
        """

        try:
            path = os.path.join(self.reports_path, "custom.json")

            with codecs.open(path, "w", "utf-8") as report:
                json.dump(results["custom"], report, sort_keys=False, indent=4)
        except (UnicodeError, TypeError, IOError) as e:
            raise CuckooReportError("Failed to generate JSON report: %s" % e)
As a result, data from initial.json and post.json that was stored in the global container is returning back to a single “custom.json” file. But we could have easily done a HTML, a PDF or something else.
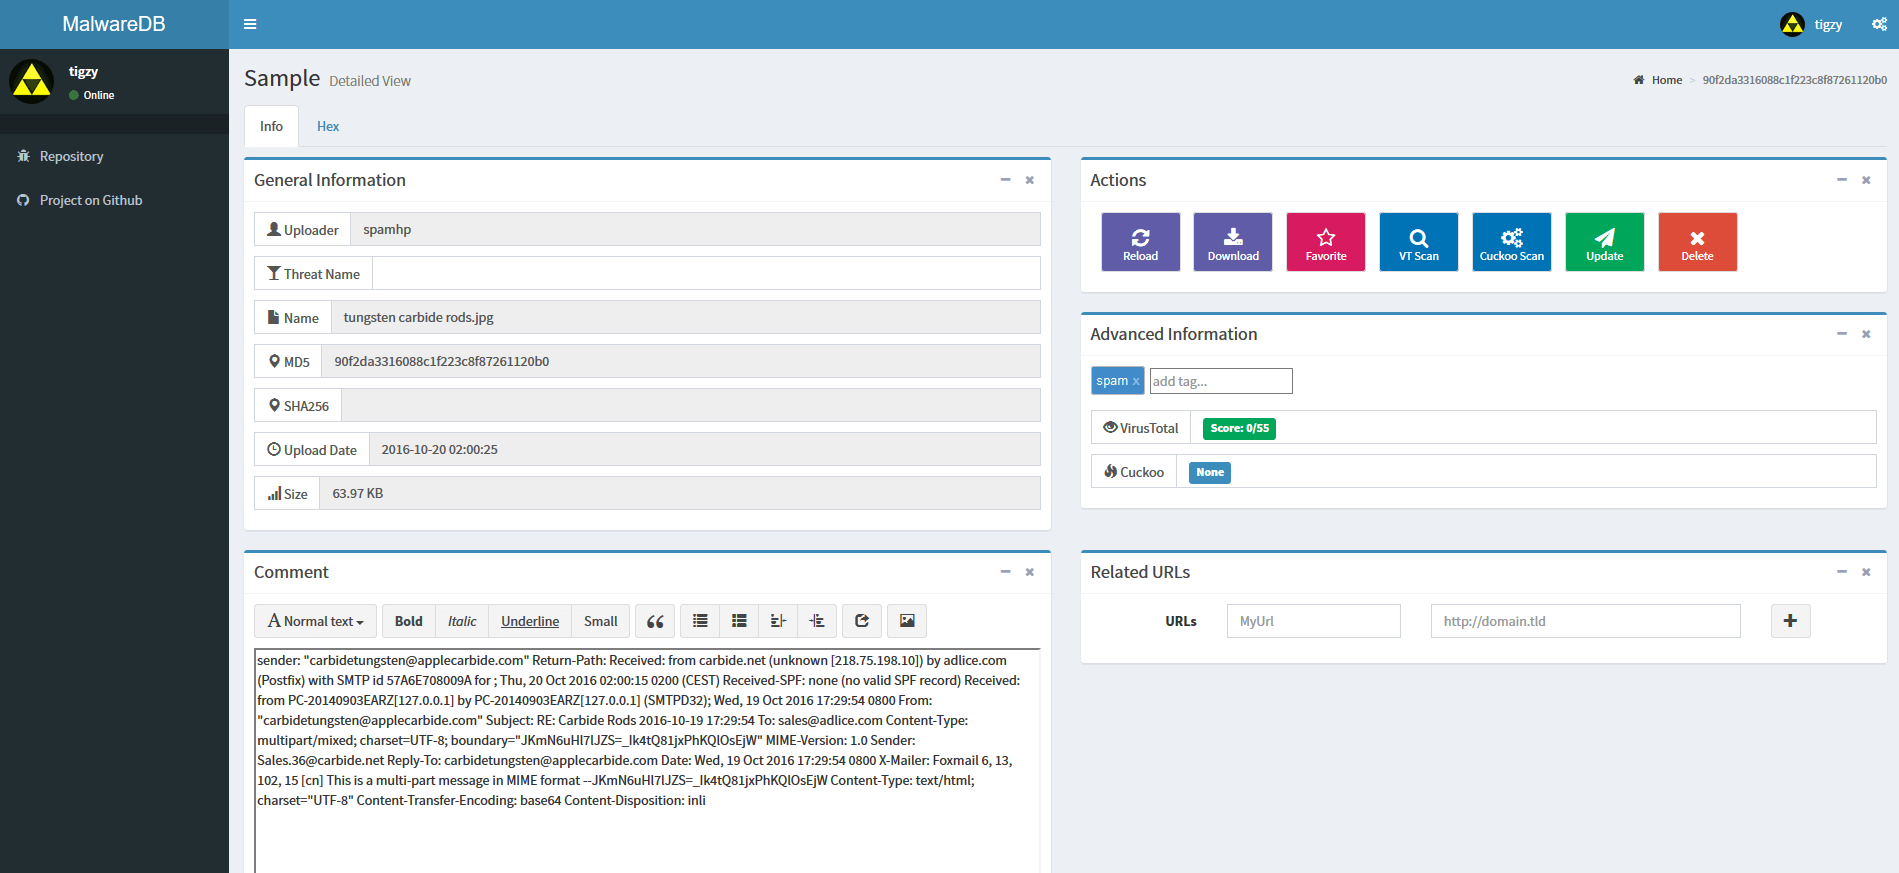
Concrete use case: Removal report
The idea is to get a removal report for a malware with a given anti-malware scanner, RogueKiller.
To do so, we will use a new package module, for which we will write a finish routine that runs and inject our antimalware:
import os
import shlex
import json
import logging
import urllib2
import tempfile

from lib.common.abstracts import Package
from lib.common.results import upload_to_host
from lib.api.process import Process
from lib.common.defines import KERNEL32

log = logging.getLogger("analyzer")

class ExeWithRemoval(Package):
    """Custom analysis package."""

    def start(self, path):
        args = self.options.get("arguments", "")

        name, ext = os.path.splitext(path)
        if not ext:
            new_path = name + ".exe"
            os.rename(path, new_path)
            path = new_path

        return self.execute(path, args=shlex.split(args))

    # Post execution
    def finish(self):
        try:
          #download
          response = urllib2.urlopen("http://link_to_roguekillercmd.exe")
          f = tempfile.NamedTemporaryFile(delete=False)
          data = response.read()
          f.write(data)

          #rename
          path = f.name + ".exe"
          f.close()
          os.rename(f.name, path)
          log.info("Downloaded remover program to %s", path)

          #execute
          args = "-scan -dont_ask -params \"-autoremove\""
          pid  = self.execute(path, args=shlex.split(args))
          log.info("Executing remover program with args: %s", args)

          #wait for end
          while Process(pid=pid).is_alive():
              KERNEL32.Sleep(1000)

          #upload report
          upload_to_host("C:/path_to_my_report.json", "logs/removal.json")

          log.info("Executed remover program with args: %s", args)
        except Exception, e:
          log.exception("Error while loading the remover program")

        return True
After the analysis is done, finish() is called. In this method we download in a temporary file our anti-malware (in CLI version), then we run it under cuckoo injection.
Once the report is generated we upload it back to the host to attach it to our analysis. Then the cuckoo report is generated and we can compare what the malware did, and what the anti-malware was able to catch and remove. Simple as that!
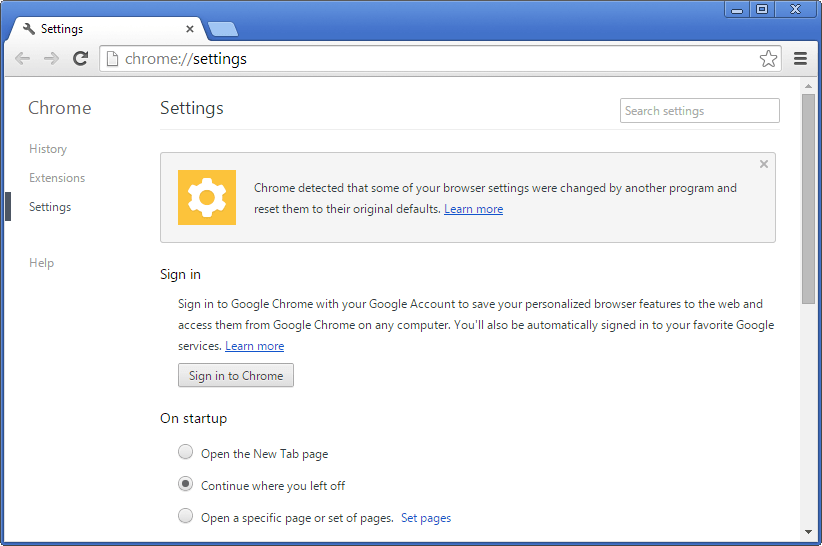
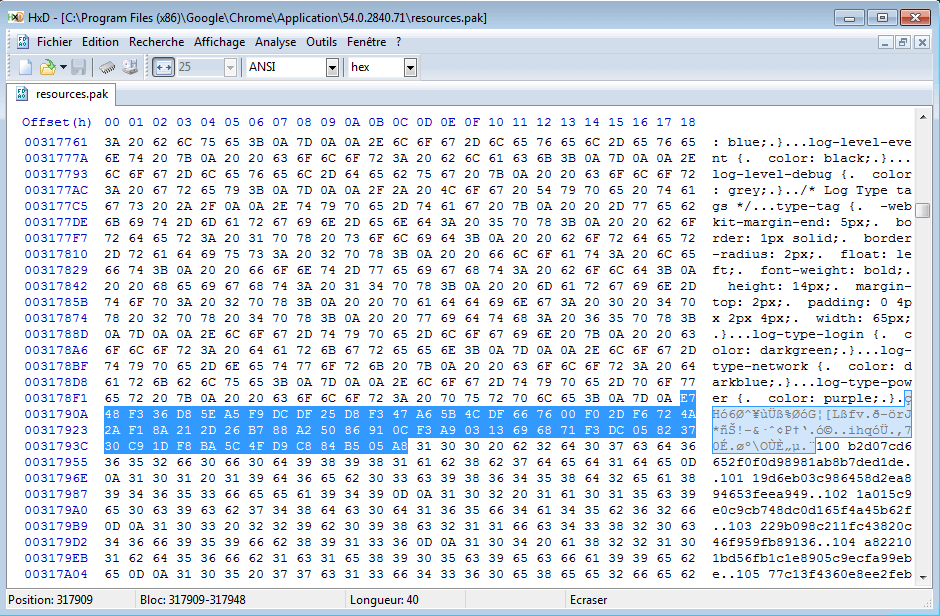
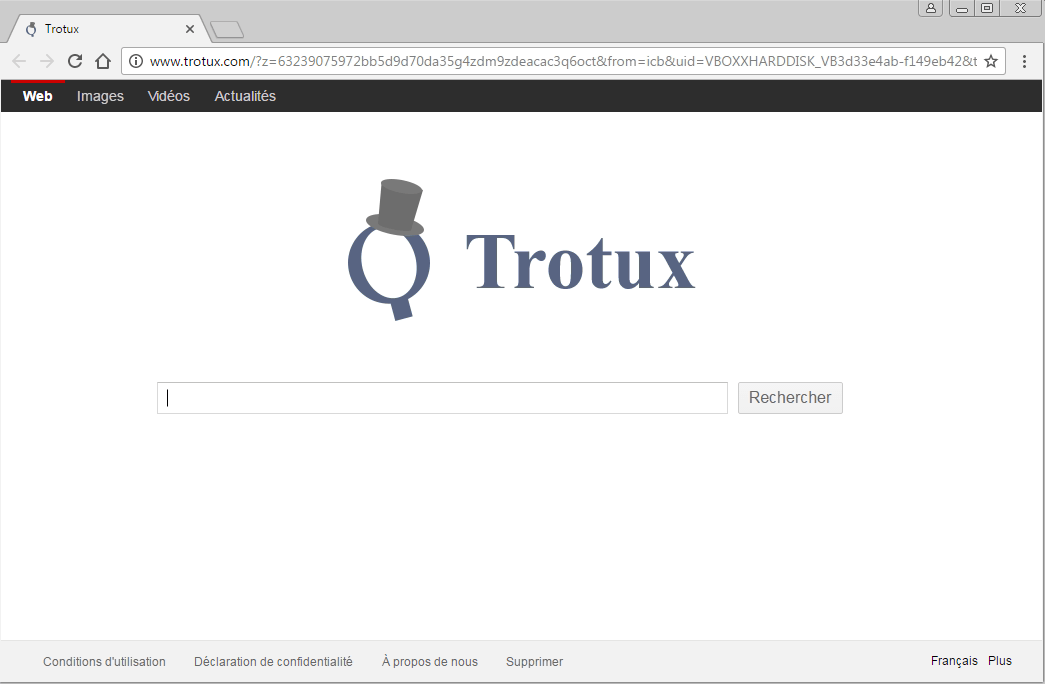
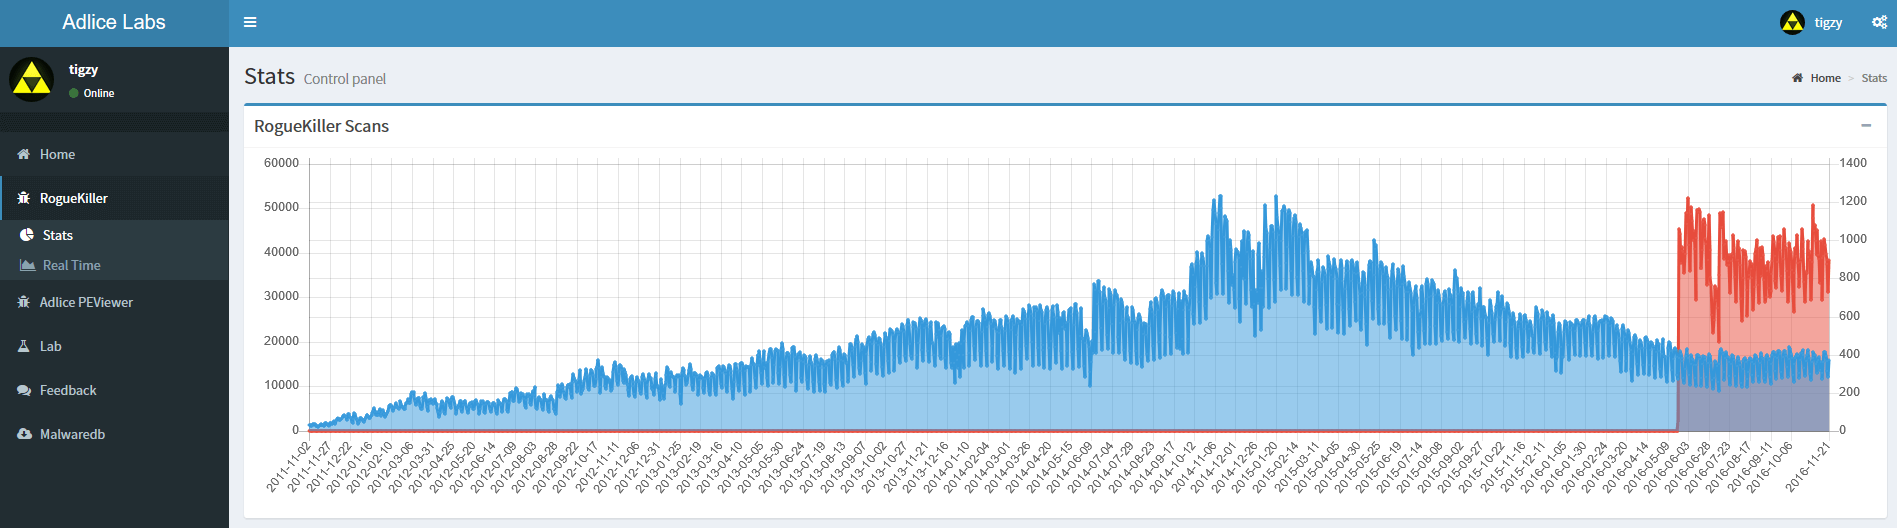
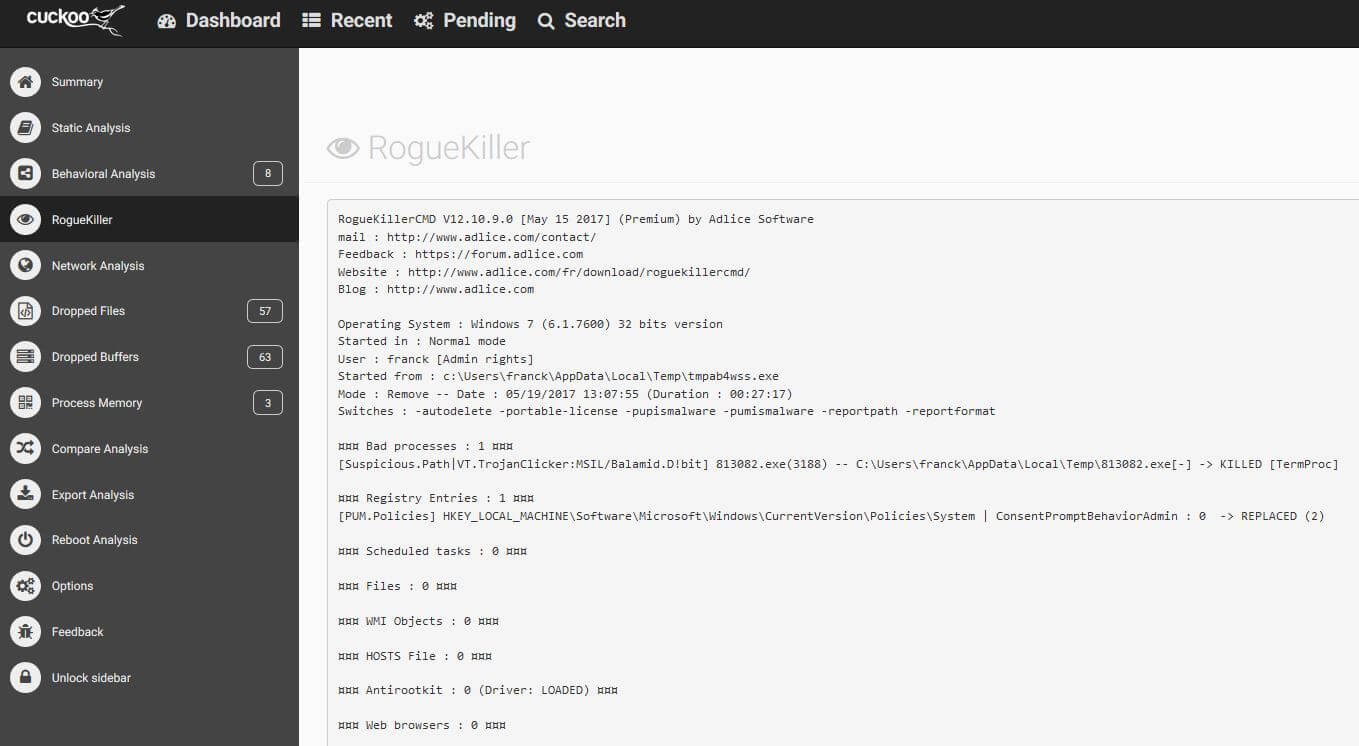
In our example below, the malware was a fake putty binary, notice the RogueKillerCMD scanner running.
Image may be NSFW.
Clik here to view.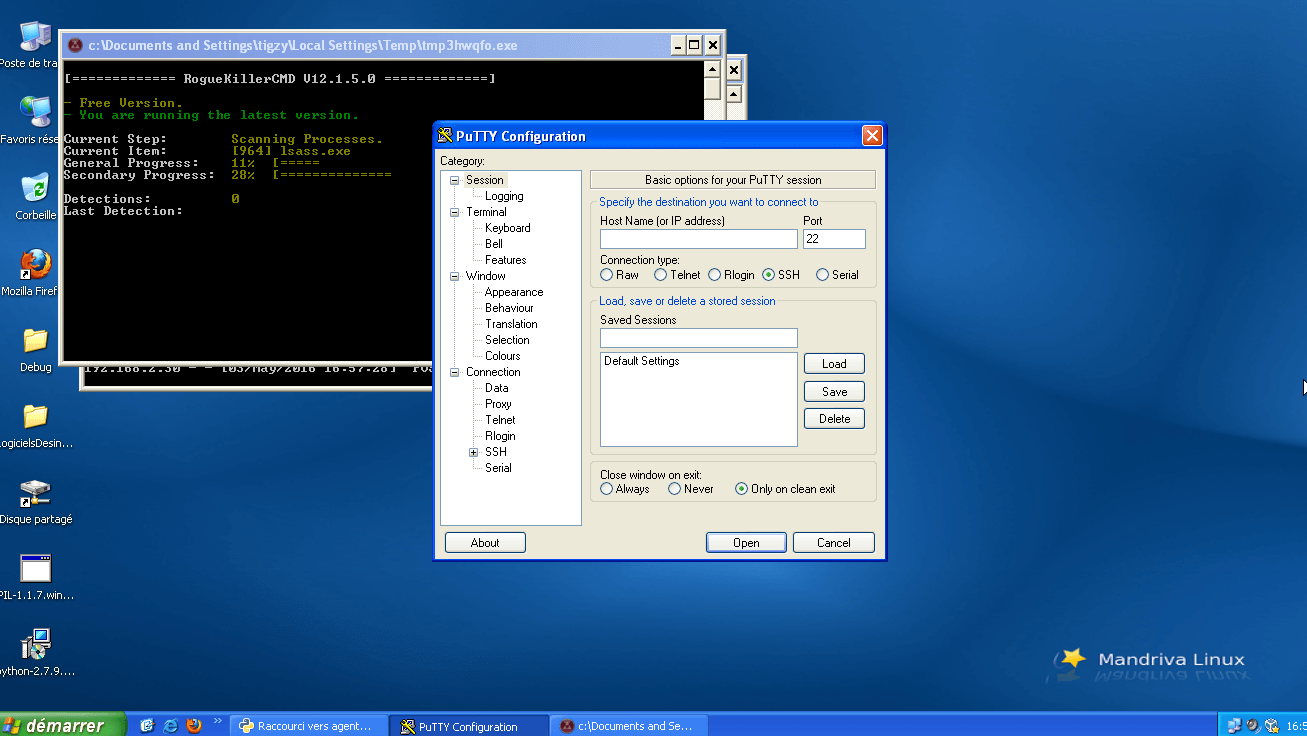
Image may be NSFW.
Clik here to view.
Image may be NSFW.
Clik here to view.
Links
- http://docs.cuckoosandbox.org/en/latest/customization/
- http://stackoverflow.com/questions/27816127/add-module-inside-cuckoo-sandbox
- https://github.com/cuckoosandbox/cuckoo/issues/892
- https://github.com/cuckoosandbox/cuckoo/issues/888
The post Cuckoo Sandbox Customization appeared first on Adlice Software.