General explanation about different kinds of online threats. What they do, and how.
Introduction
Viruses, malware, worms, adware, there are many different kinds of online threats.
It can be confusing for one to understand the level of dangerousness of each, what they do and how to remove. In this post, I will try to demystify this and shed some light on how they sneak into your machine and stay undetected.
If you think that document is missing something, please let me know I’ll be happy to add it.
Definitions
- Malware: Means “Malicious Software”, this is the most general definition.
- Virus (High threat): As soon as a malware has auto-replication feature, it’s a virus. Able to infect other files, Ex: Virut/Sality
- Worm (High threat): Ability to replicate through the network. Can be by email, instant message. Most of the time it’s because the user opens it, but can also exploit some vulnerabilities to propagate. Ex: Worm/Msn
- Adware (Low threat): Means “Advertisement Software”. It will display ads to the user, or play advertisement in the background. Ex: Adware.Eorezo
- Rootkit (High threat): A rootkit modifies system memory (at user or kernel level) to hide itself and/or prevent its removal. Rootkits are usually designed to protect affiliate malware that are weaker. Ex: Rootkit ZeroAccess, Necurs
- Trojan (Medium threat): Ability to open a backdoor on a machine, and download (on demand) some other piece of malware in order to execute it.
- Dropper (Low threat): Is the entry point of an infection, it’s often encrypted and the smallest as possible to bypass antiviruses. Will download the real malware on internet (or extract from resources) and execute it (like a Trojan, yes).
- Password Stealer(High threat): Ability to steal passwords from various sources: Web (Social networks, Banks, …), FTP (to get control of web servers), Email account (to send malware or SPAM in your name). Those passwords are then sent to the attacker.
- Keylogger (High threat): Is able to save everything you type with your keyboard, take screenshots of your screen. They look for password (Like Password Stealer).
- Banker(High threat): Injects some code in your web browser when you are on a bank website (or about to buy something online), so that they get your bank credentials. Those credentials or credit cards are then sent back to the attacker. Ex: Zeus/Zbot.
- (Crypto)Ransomware (High threat): A Ransomware will either totally lock your computer, or for Crypto variants they will encrypt all your documents. In any case they ask a ransom to revert to original state. Ex: Reveton, CryptoLocker.
- Rogue Antivirus (Medium threat): They look like legit antivirus software, but they aren’t. Most of the time they display false infection, and want you to buy them to “remove” the infection. In reality there’s no infection, nor real scanner. And when you buy them, they simply do nothing.
- PUP (Low threat): That means “Potentially Unwanted Software”. They are legit software, but most of the time the user didn’t install them. They are bundled with other software, and user didn’t uncheck the “option” to install the affiliate software. Besides, most of PUPs are also Adware. Some PUPs are also using Rootkit tricks.
- Spambot (Medium threat): They are designed to send SPAMs, either directly from a compromised web server, or using victim messaging. They can also be web crawlers, searching the web for email addresses where to send SPAM.
It’s important to note that a malware can be of several types above. Actually most of them are, for example Zeus is a Banker, with Password Stealer capability, as well as Trojan to turn the machine into a zombie PC (part of a botnet).
- Botnet: It’s a group of zombie machines (bots), all linked to a C&C (see below). Botnets are often used to perform DDoS attacks, sending SPAM, bruteforce passwords (stolen from a database for example), …
- Bot (Zombie PC): A machine part of a botnet. It’s connected to the C&C, waiting for orders to execute.
- C&C (C2): A machine part of the botnet, dedicated to send commands to the others and get information and stolen data back from them. There can be one or several C&C, depending on the botnet architecture and complexity.
- DDoS: Attack by denial of service. To be efficient, must be coordinated between many different IP addresses. Often performed by a botnet. An attack will make the victim’s server/website unreachable, with possible economic consequences.
- SPAM: Illegitimate email, promoting a service, a product or anything.
- Bitcoin mining: Bitcoins are a virtual currency, that can be “mined”. We spend CPU resources (electricity in fact) to earn money.
- Exploit: A vulnerability into a software, operating system, or code in general. When exploitable, this can lead to privilege escalation (get admin rights) or remote code execution (starting a process without the consent of user). An exploit can be fixed by the software editor with a patch.
- 0-day exploit: It’s a vulnerability for which there is no patch available yet. This means everyone having the software is vulnerable.
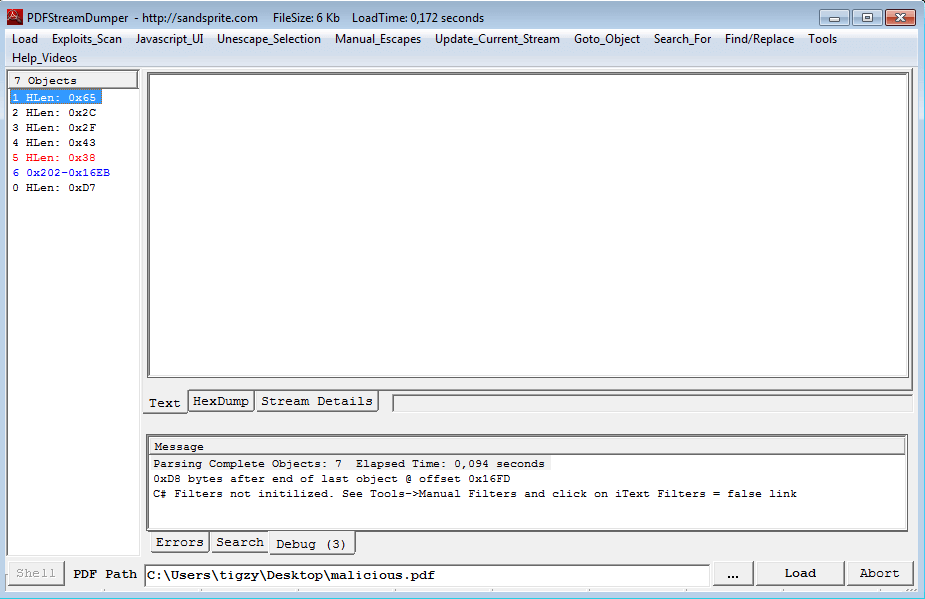
- Exploit Kit: A kit of exploits. This is a platform server that will test your machine against many exploits, until one works. When an exploit works, the exploit kit will be able to deliver a Payload that will infect your machine. Most of the time, exploit kits are called through a malvertising.
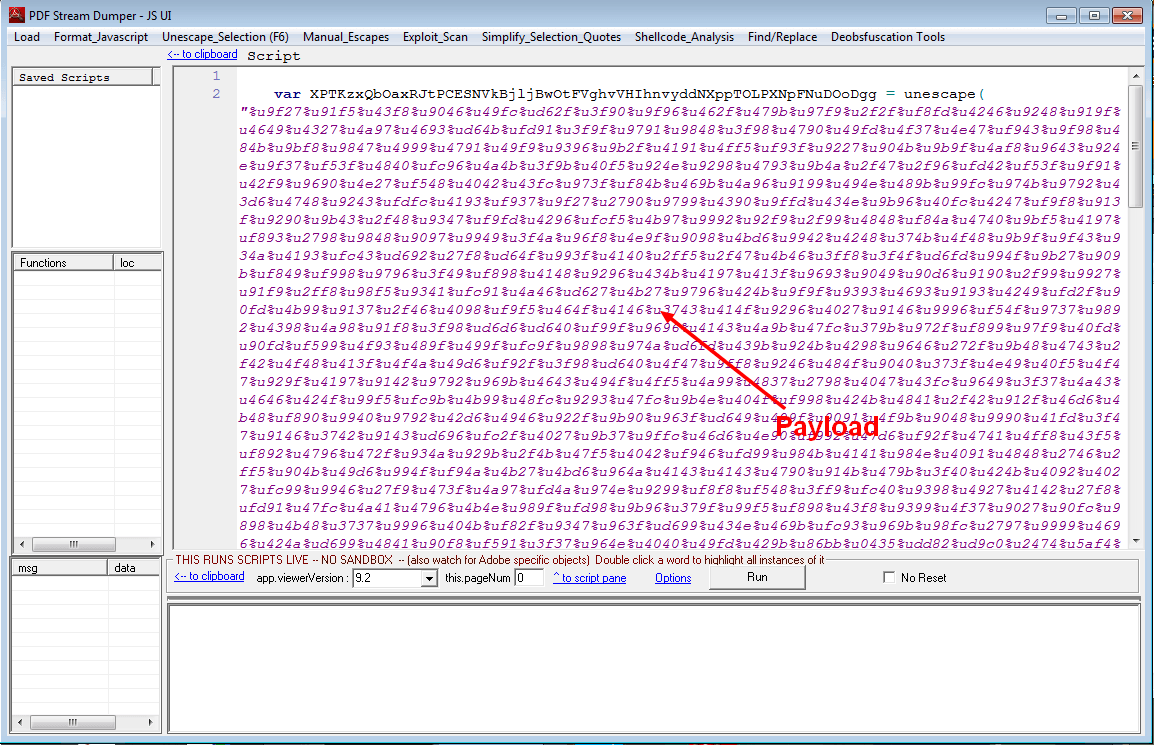
- Payload: This is the “useful load”, the code for which all the infection chain was made for. It can be the malware itself, or its dropper.
- Malvertising: Means “malicious advertising”. It’s an ad that has been designed to call an exploit kit to infect your machine. In theory, major advertising platforms are validating ads before they are served, but smaller platforms don’t do it, or don’t do it right. Some are even created to serve malware under-the-hood.
- Compromised Server: When a server uses software with vulnerabilities, an attacker can take control of it through an exploit. When done, the compromised server can be used in a botnet, or directly to host malware, host phishing pages, send SPAM, …
- Phishing page: A webpage designed to look like a specific Bank login page, social network, anything where a user can put credentials. Those credentials will then be used for malicious actions, or sold.
- Persistence Item: This is an item that gives a malware the ability to be started at boot. It can be a registry key, a startup shortcut, a patched system file, a MBR infection, … (see below).
- Hooking: Setup a hook is an action performed by a rootkit. We can summarize that action by placing a filter on top of a system API. For example, NtOpenProcess is the API needed if we want to kill a process. If a rootkit hooks that API, it will be able to tell if the process termination is allowed or not, and protect its process.
Why are malware made?
They of course are made to make money. A lot of people are not understanding how malware writers make money.
It’s indeed a very lucrative activity, here’s a quick list of how they earn money:
- Selling malware/code: That’s the most obvious way to earn money. Malware writers sell their malware to other bad people, or sometimes they sell the source code.
- Displaying ads: That’s how adware make money. Each ad displayed/clicked generates money for them.
- Click fraud on ads: That’s another way to make money with ads. While the previous one is barely legal, this one is totally prohibited. Malware will simulate clicks on ads in the background, so the infected user will never know that his machine is clicking on ads. Ads clicked of course belong to the malware writer.
- Sending SPAM: A compromised server, or a bot, can be used to send SPAM to a list of email addresses. Spammers earn money every 1000 SPAMs sent.
- Selling Information: A banker, password stealer will bring back stolen passwords, and credit cards numbers. They are sold on black market at a rate that depends on which country they are from (Ex: 50$ for a US). Personal data can also be sold: Name – Email – Phone number, for SPAM campaigns.
- Providing easy malware installation: Rootkits can download/install/protect an affiliate malware (with compensation). Exploit kits are paid to install a particular payload.
- Selling Rogue Licenses: Rogue software owner will earn money by selling fake licenses.
- Asking Ransom: A Ransomware owner will be paid by infected people for giving them access back to machine/files. But most of the time they just take the money.
- Sell/Lease a Botnet: A Botnet can be useful for attacking a contestant, etc. Botnet owner is paid to give control of his botnet for 24/48/72 hours. The higher the number of bots, the higher the price.
- Bitcoin mining: Bitcoin mining is most of the time performed on infected machine, because malware owner will not pay power consumption. But he will get bitcoins into his own wallet.
- Selling/Blackmail DDoS attacks: Same as leasing a botnet, except that botnet owners can also blackmail a company himself by offering to NOT attacking them if they pay a ransom. Imagine a big commercial website being attacked during black Friday. They can’t, and sometimes they pay the ransom.
- Selling exploits/0-day: Some people are specialized in searching and selling 0-day exploits to bad guys. Depending on the targeted software, these 0-day exploits can be sold several thousands of dollars. They will then be integrated in exploit kits (above).
It all start with an infection
- Installed by the user itself: Fake P2P music/video file that is actually a EXE file. Fake cra.ck/key.gen for a software.
- Bundled software: User will download an installer for a software A, but will not uncheck affiliate programs installation. This will result with installation of software A, B, C. Unfortunately, B and C are malware.
- Drive-by-download: This is the term used when speaking of malvertising, malicious web code, fake “required” plugins. It can be installed after you open an email attachement. They are installed sometimes without the user knowing it.

Pdfcreator installing AVG-Toolbar

Fake plugin (grahamcluley.com)
Malware deployment
A malware will often be deployed in several steps:
The dropper is the file that is served first (the one you downloaded), that dropper is usually heavily encrypted, packed to bypass antiviruses. It will either unpack the payload from a resource, or download it directly from a server. Then the payload is executed.
Once executed, the payload will very often “install” itself to survive at reboot with a persistence item (see below). Additionally it can load several components to hide itself and/or harden its removal. Then it will perform the task for which is was designed.

(damballa.com)
Persistence Items
The persistence item of a malware is what makes it start at boot. Without it, malware would no longer exist after a machine is restarted.
So persistence item is the weakness of every malware infection.
Here’s a quick list of where a malware can hide its persistence item:
- Registry: RUN key, Services key, Browser Helper Object, … There are tons of different places in the registry to start a software at boot.
- Scheduled Task: We can schedule a program to start at boot.
- Startup folders: Placing a shortcut into one of them will start the program at boot.
- MBR/VBR infection (Bootkit): A bootkit will modify bootstrap/bootloader code of the Master Boot Record or Volume Boot Record to load its own driver before the operating system even loads.
- Patched system file: By modifying a legit system file (that is loaded at startup), the malware can place its own code and it will be executed at startup.
- Web browser extension: Nowadays, a computer will 99% of the time have a web browser opened during a work session. So an extension is a good choice to place malware code, plus it will have access to a lot of sensitive information.

Remaining Stealth
To remain hidden in the system, malware will often use several tips:
- Use randomly generated names to avoid detection by name.
- Hijack system names (1), Ex: svhost.exe (the real one is svchost.exe).
- Hijack system names (2), Ex: %temp%/explorer.exe (the real one is %windir%/explorer.exe). In task manager, we don’t see the full path.
- Perform process injection: Either by injecting code into existing process (like explorer.exe), or by creating a copy of existing process and by injecting code into it.
- Use hooking to hide or protect its process, persistence items.


Removal
To remove an infection, you can do it with several ways:
- Remove payload (99% of the time, a file).
- Remove persistence item(s).
Removing both is better, but either way would prevent the malware from loading.
Links
http://whatis.techtarget.com/definition/command-and-control-server-CC-server
http://www.tripwire.com/state-of-security/vulnerability-management/how-stolen-target-credit-cards-are-used-on-the-black-market/
https://blogs.mcafee.com/consumer/drive-by-download
http://www.forbes.com/sites/andygreenberg/2012/03/23/shopping-for-zero-days-an-price-list-for-hackers-secret-software-exploits/
The post Malware, viruses, what are they? appeared first on Adlice Software.